Disable and Remove OneDrive from Windows 11
If you are looking forward to disabling or removing OneDrive from Windows 11, this article will help you with that. In this article, we will be discussing how you can disable or remove OneDrive from Windows 11.
Blocking OneDrive From Startup In Windows 11
If you are just annoyed by the random popping up of the OneDrive notifications when you turn on your PC, you can prefer blocking OneDrive from the Startup, and the notifications will no longer disturb you. To disable OneDrive from Startup in Windows 11, follow the steps given below-
In the Start menu, search for Task Manager and open it. Here, head to the Startup tab, and then select Microsoft OneDrive here. Now, right-click on it, and then click on Disable to disable the Microsoft OneDrive from Startup. Now, whenever you restart your PC, OneDrive will not start up automatically, and you will not be disturbed by the notifications.
Disabling OneDrive In Windows 11
If you don’t just want to block it from the Startup, but you want to disable it so that it doesn’t sync the files to the cloud and degrade the performance, you can disable it. You can permanently disable the OneDrive in Windows 11 by following the steps given below-
Click on the OneDrive icon that you will see at the corner of the taskbar. If you do not see the icon, search for OneDrive from the Start Menu and open it.Click on Help & Settings in the OneDrive and then click on Settings from the menu that opens up. Head to the Account tab in the OneDrive Settings. Here, under the OneDrive section, you will see an option called Unlink this PC. Click on this option to disable the OneDrive on your Windows 11 PC.
Removing OneDrive From Windows 11
If you don’t just want to disable the OneDrive from Windows 11, but if you want to remove it permanently, then you do have the option to do that as well. To remove OneDrive from Windows 11, follow the steps given below-
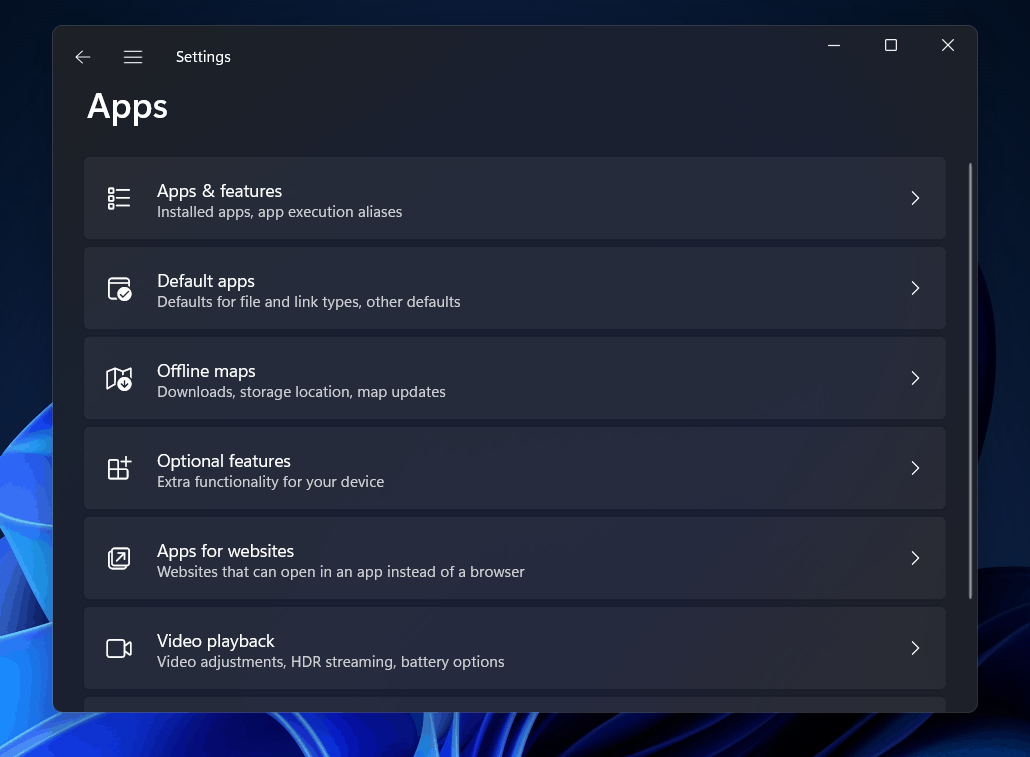
Head to the Settings app on your PC. You can do so by pressing the Windows + I key combo. In the Settings, head to the Apps section from the left sidebar.
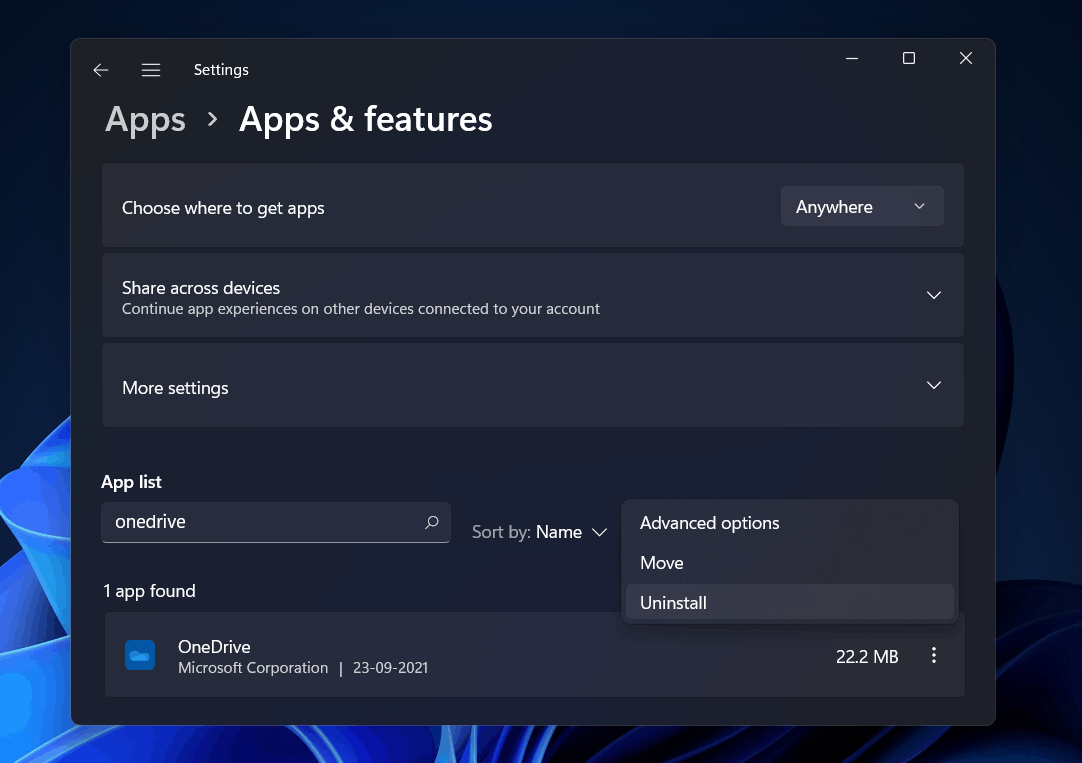
Now on the right side of the screen, click on Apps & Features. From the list of app, search for Microsoft OneDrive. Select OneDrive, and then click on the three dots that appear next to it. Now click on Uninstall to uninstall the application.
You will be asked to confirm uninstalling the application, confirm it, and the app will be removed from your PC permanently.
RELATED GUIDES:
How Do I Disable Or Delete OneDrive?
You can easily disable or delete OneDrive on your Windows 11 by following the steps mentioned in this article. We have already discussed how you can block OneDrive on Startup, disable it, and even remove it.
How To Disable Windows 11 Search IndexingHow To Enable Or Disable Notifications On Windows 11How To Disable Mouse Acceleration In Windows 11
Conclusion
Microsoft OneDrive is a useful application to sync your files on your PC with multiple devices. However, the application does consume your internet data and can also slow down your PC over time. Many people prefer using this application for syncing their files, but if you don’t want to use it, you can prefer disabling or removing it. You can easily disable or remove Microsoft OneDrive by following the methods mentioned in this article.
Δ


